Facebook allows some tricky campaign optimisation and tracking options through the use of a conversion-tracking pixel that you install on your website.
Very simply, when a visitor to your website loads a page with one of these tracking pixels installed, a call is made to Facebook to retrieve the stored unique image filename (a 1×1 px image so minimal size) allowing Facebook to capture the visit.
To install the tracking function you need to take the snippet of code that Facebook generates in your Facebook Ad account and add to your website in between the <head> </head> tags.
The trick with the conversion-tracking code snippet is that you only want this on an after sales page or a success page rather than every page of the website (you are trying to track successful email signups or online purchases). This is a little harder to do in WordPress than say adding Google Analytics code to every single page of the website which is a straightforward sitewide edit.
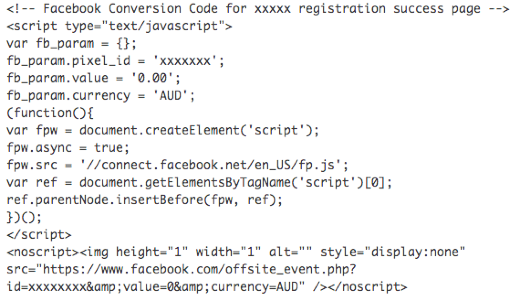
An example conversion-tracking pixel code is below:
If you are a WordPress coder then you can setup a conditional code insertion so that the tracking script is only added to the pages that you specify.
The easier way for most people will be to use a wordpress plugin called HiFi (Head Injection, Foot Injection).
Once installed this plugin will add a section to the page/post editor that allows you to insert header and footer code on a per page/post basis. Perfect for what we are looking to do here.
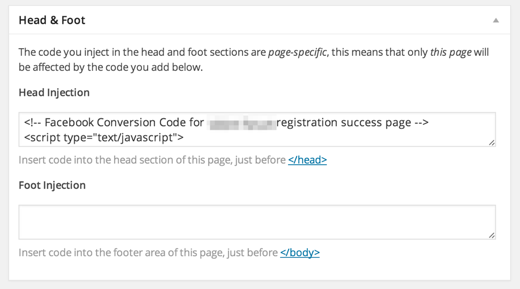
Now we can open up our ‘success’ page that we are tracking conversions for inside of Facebook and cut&paste the code from Facebook into the header section of just that target page.
Once that is done, reload the page which will trigger the Facebook tracking pixel to load and setup is complete.